PFSENSE NETWORK SECURITY LAB Overview: Designed and deployed a network security environment using pfSense firewall on a Protectli Vault appliance and Unifi access points (APs). Implemented Snort for real-time Intrusion Detection and Prevention (IDS/IPS) and IP block lists to increase security. Configured pfSense as an internal Certificate Authority (CA) to manage and issue SSL certificates for encrypting internal communications with self-hosted services. Deployed Tailscale (WireGuard-based) and OpenVPN for remote-access VPN connectivity. pfSense® software is a free, open source customized distribution of FreeBSD specifically tailored for use as a firewall and router that is entirely managed via web interface. Nothing scratches my networking itch like designing a network from the ground up and seeing all the pieces work together (or not work together—troubleshooting is half the fun, right?). So when I got my hands on a Protectli Vault and some Unifi access points, I knew it was time to build out the kind of network security lab I’d always wanted: more configurable than any consumer-grade router and, quite frankly, completely overkill. The foundation of this lab is pfSense, which acts as my firewall and router. Security is my priority, so setting up real-time Intrusion Detection and Prevention with Snort and building out custom IP blocklists was a must. Setting up pfSense as my internal Certificate Authority was a personal achievement. There’s something satisfying about generating and issuing your own SSL certificates for all your self-hosted services and getting rid of those pesky “This site is insecure” messages. But it wasn’t just about locking things down locally—I wanted encrypted remote access as well. So I configured Tailscale and, for good measure, OpenVPN. Both play nicely with pfSense and give me secure access to my local network from anywhere. This whole lab was a sandbox for skills in network segmentation, IDS/IPS best practices, and remote access VPNs. It was a lot of fun to tinker with all the settings and tune my network to behave exactly how I want it to. Reference: https://www.youtube.com/watch?v=lUzSsX4T4WQ
Using Netalert X For Network Monitoring
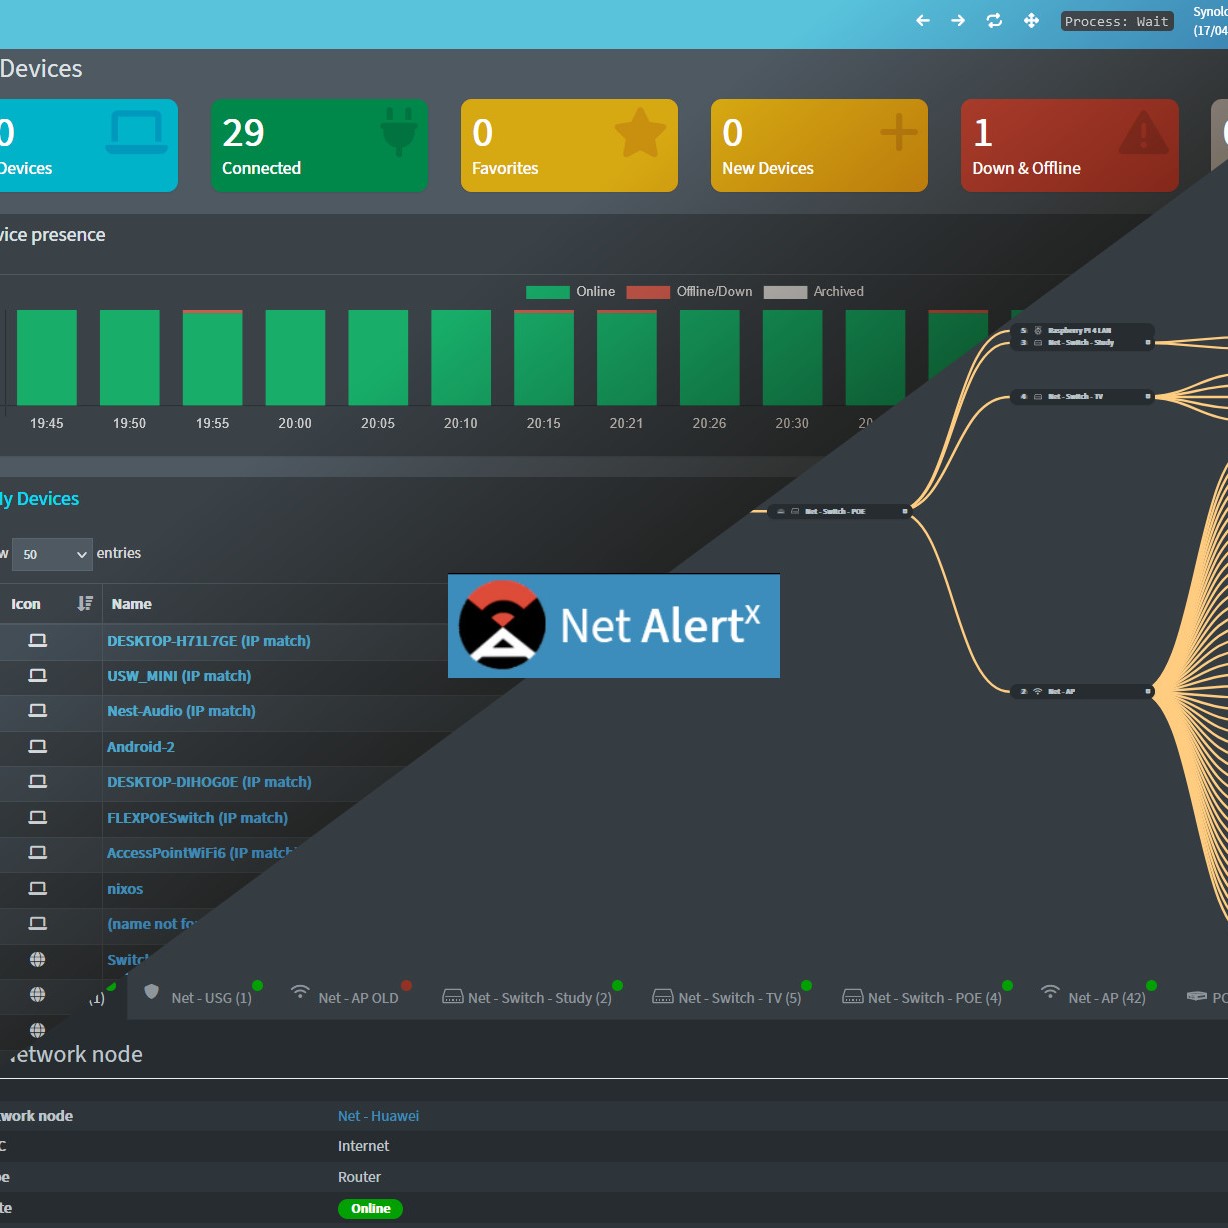
USING NETALERTX FOR NETWORK MONITORING Goals and Objectives: Deploy NetAlertX in a Docker container on my homelab server. Configure NetAlertX to monitor key network devices and endpoints, providing real-time alerting for outages or unusual activity. Set up automated network health checks and historical reporting to track uptime and diagnose recurring issues. Integrate NetAlertX dashboards to visualize network performance and device statuses for quick troubleshooting and overview. NetAlertX is a powerful open-source tool that uses ARP for network device discovery and monitoring Reference: https://www.youtube.com/watch?v=R3b5cxLZMpo&t=5s

